DIY: make A MOSS NEON SIGN
This article may contain affilate links. To learn more, view the disclosure policy .
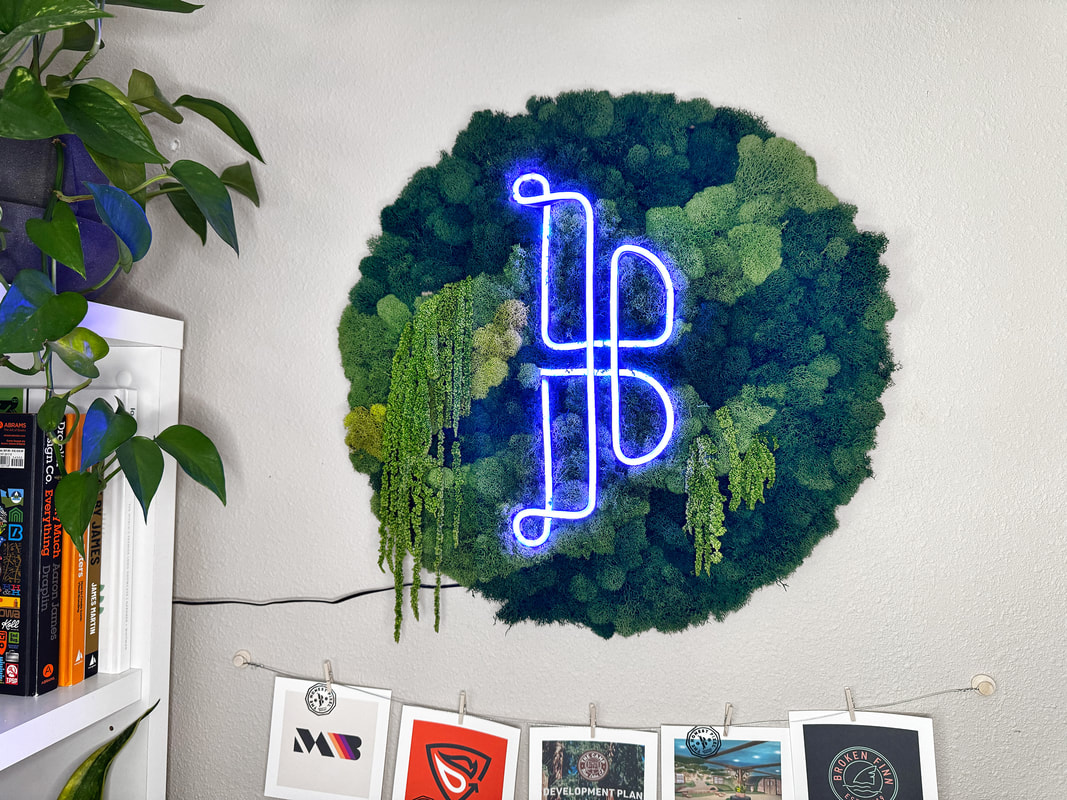
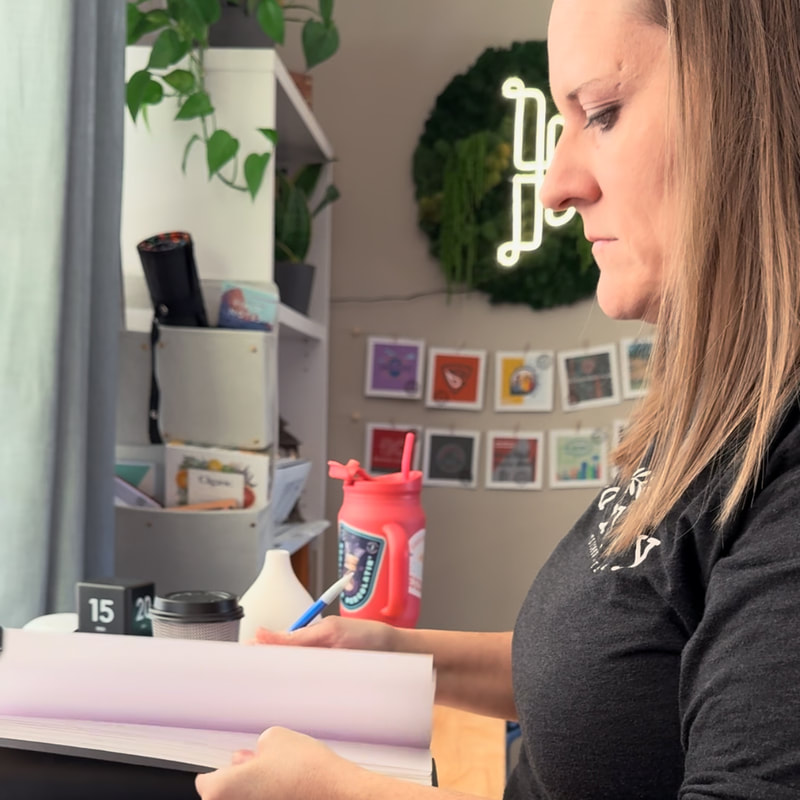
I made this Moss Neon Sign with my business logo on it. I work from home as a freelance graphic designer, so this biophilic signage adds just the right amount of branding and glow to create a nice focal point in my graphic design studio workspace. DIY this sign for your space with the easy, step-by-step instructions below. First you'll need some supplies and materials to get started.
Supplies List:
(Available for purchase on Amazon)
• Flexible Neon LED Rope Light
• 20 inch Plywood Circle
• Preserved Reindeer Moss, Forest
• Preserved Reindeer Moss, Chartreuse
• Clear Zip Ties
• Wood Blocking
• Preserved Amaranthus
• Preserved Sheet Moss
• Staple Gun
Step-by-Step Instruction:
Step 1:
Start with a thin plywood board, roughly 1" smaller than you want your final piece to be. Print your logo or design out on sheets of paper and tape them together. Trace the design onto the board where you want it and add wood blocking (1x2s or similar) where your neon rope is going to sit, to elevate it off the board a little.
Step 2:
Screw 2 horizontal 1x2 boards to the back of your piece. The top one will be used for hanging on 2 nails (or you can use the picture wire or french cleat method). The bottom board is just there to act as a spacer to "float" your piece away from the wall enough to allow the moss wrapping the edges to not get squished.
Step 3:
Cover just the areas of wood blocking in sheet moss using the adhesive backing or hot glue.
Step 4:
Decide where you want your Neon rope to be attached to the board and mark the spots with a sharpie. You might need your print out again for this.
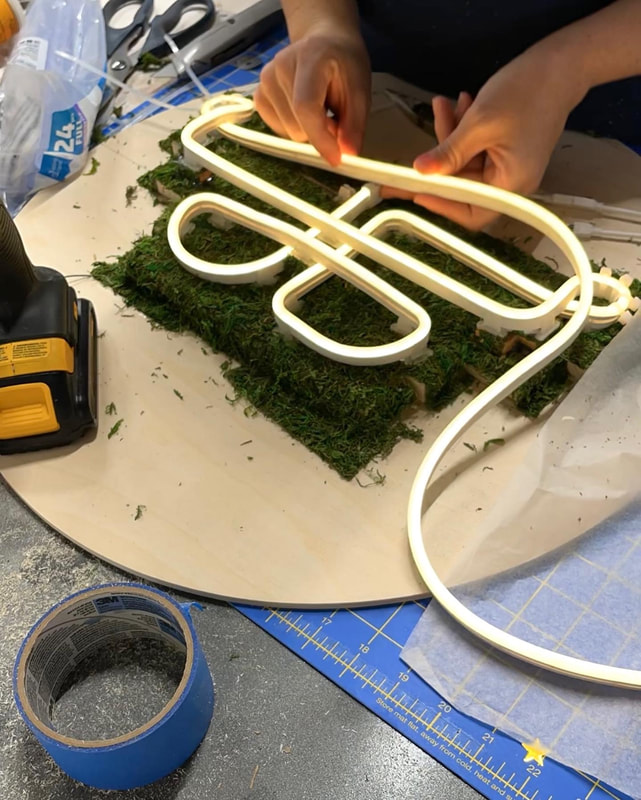
Step 5:
Either screw in neon clips, or staple on clear zip ties to your board for holding your neon rope in place. For my design, I used the better-looking neon clips on the straight areas, and the zip ties for the tighter corners.
Step 6:
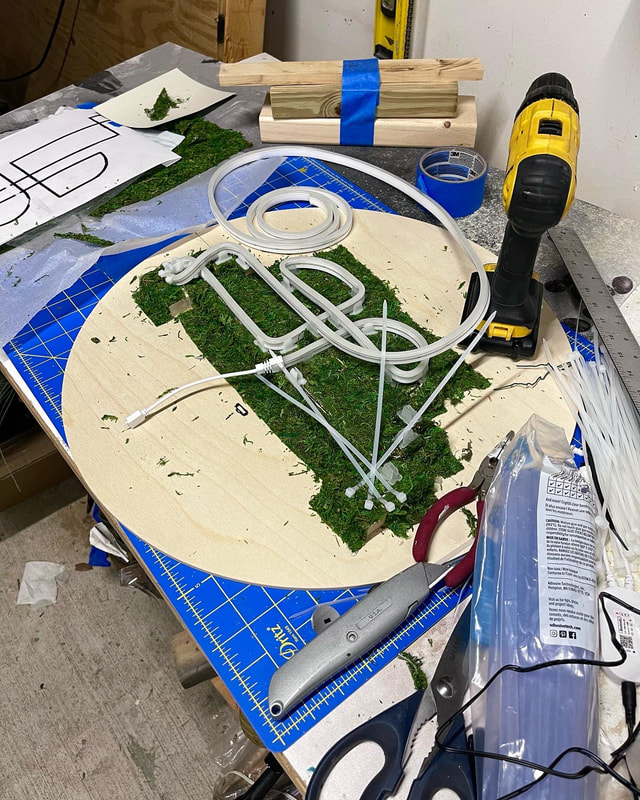
Decide where you want the start point of your neon tube to be. Drill a hole through the board and feed the connector wire through to the back of the board. Mount the electrical components of your LED Neon rope to the back of your board using a staple gun and long zip ties.
Step 7:
Start connecting your Neon rope to the clips or zip ties. My design was one continual piece so I didn't need to do any cutting or soldering of the neon rope. But it is possible to cut the neon rope at the designated cut points and solder pieces of wire to connect two sections. It just requires a lot of planning to space those sections correctly to achieve your design. It also requires some soldering equipment and precise soldering skills, which you can learn from YouTube.
Step 8:
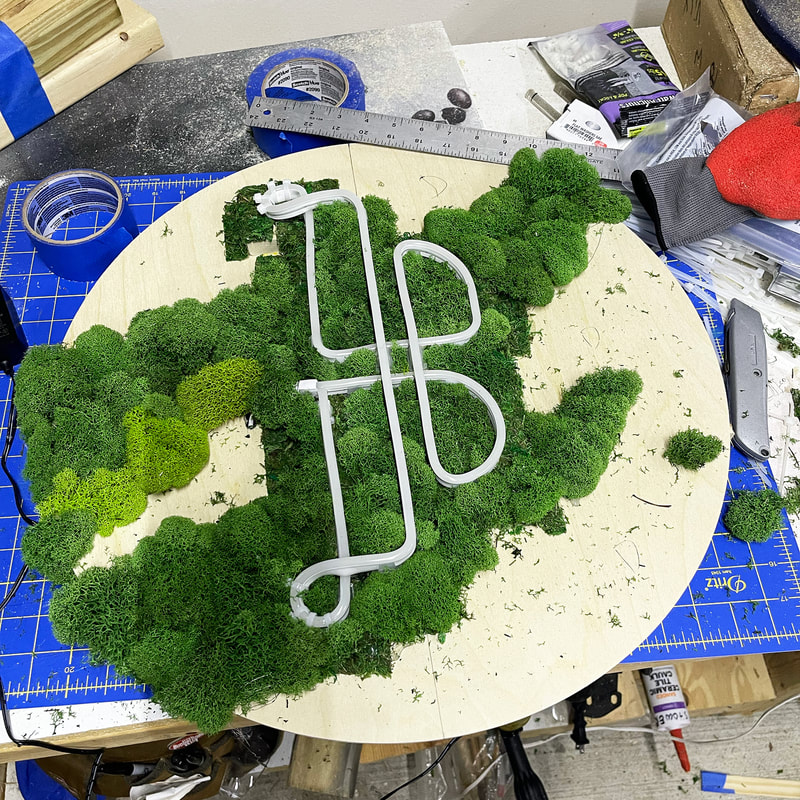
Sketch the design of your color variation on the board with a pencil before starting. Keep things loose and organic-looking, with wavy, diagonal, tapering shapes. Hot glue the reindeer moss all over the board. Start with the areas around the neon, using low-profile pieces. I used needle-nose pliers and gloves to make sure I was holding the moss down long enough for it to be secure, without burning myself. Or you can cover your finger tips in blue painters tape. Once you've covered the areas where the wood blocking is, you can start using larger pieces of moss (try to hide the fact that there's an elevation change in the board). Cover the entire board, wrapping the edges, so the wood sides don't show..
THE FINAL PRODUCT
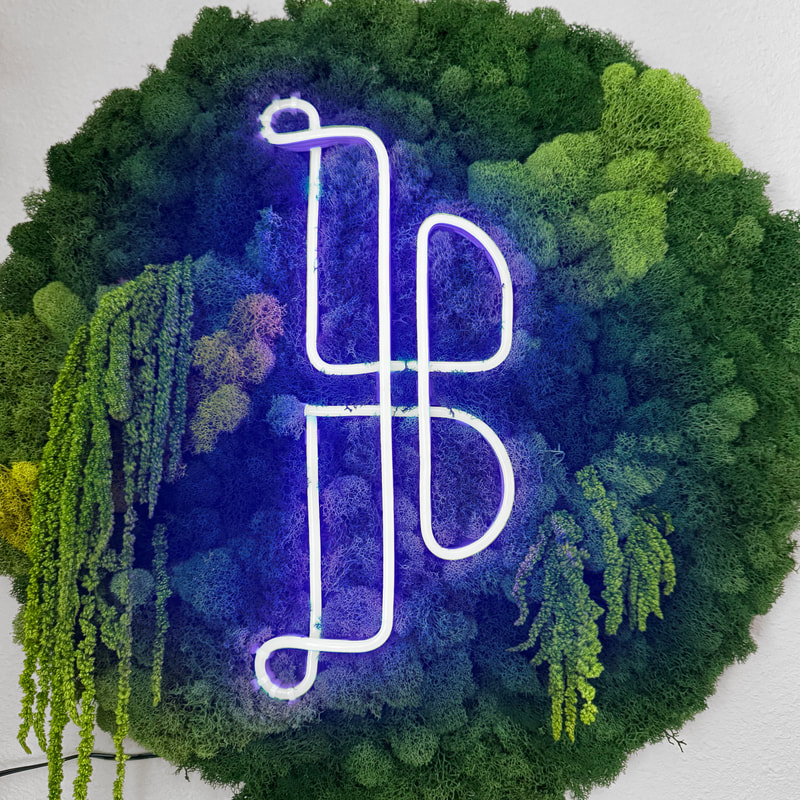
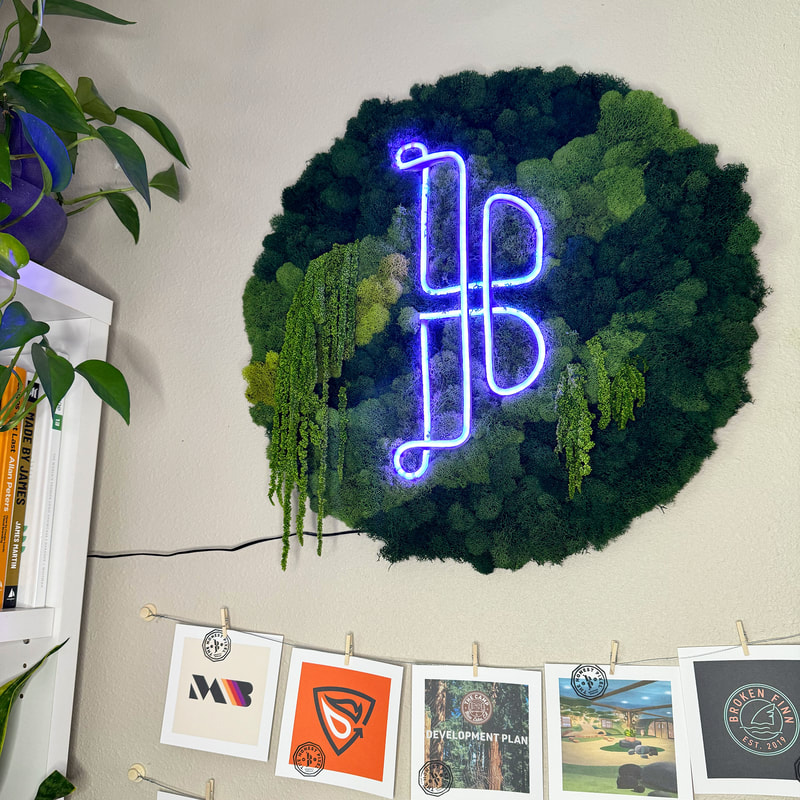

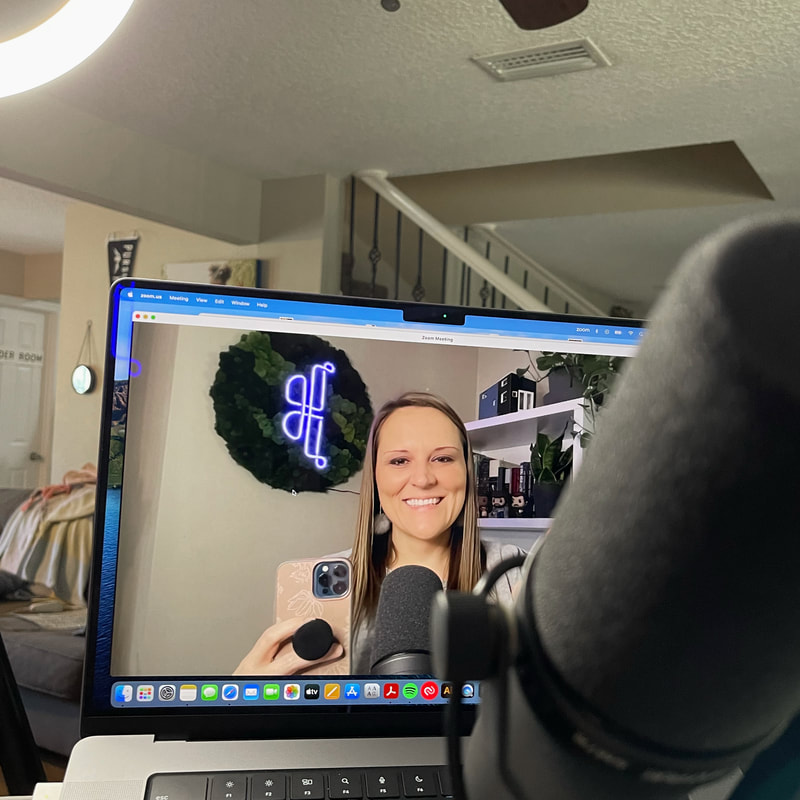
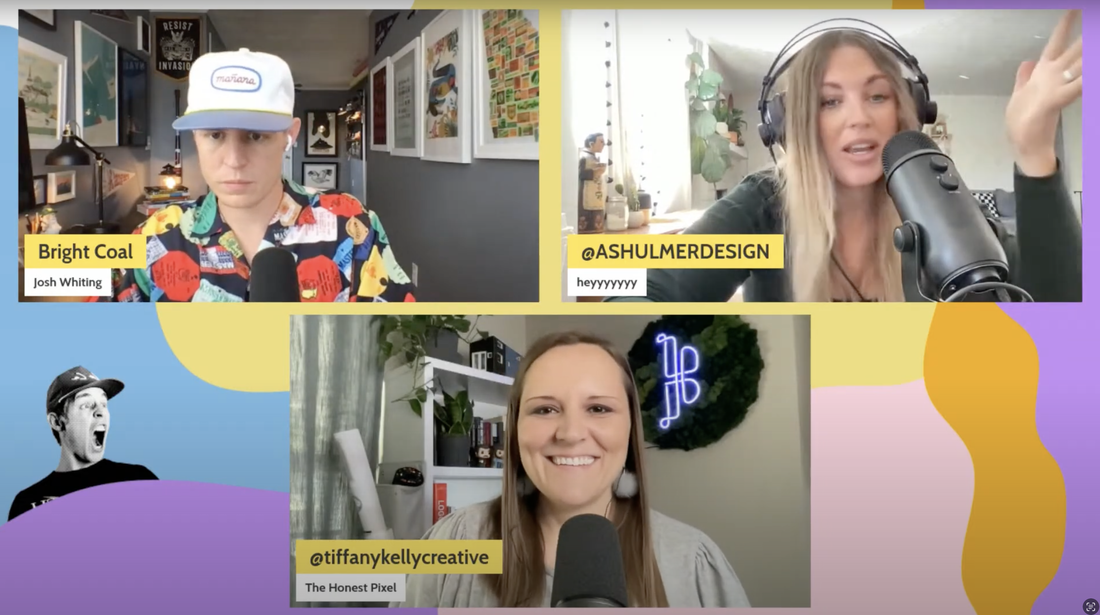
This piece adds so much personality and warmth to my graphic design studio. The biophilic feature wall gives the workspace a calm, happy, natural vibe. And the custom neon logo represents my brand in a modern, fun way. I use this branded moss sign in the background of videos for social media marketing, as well as during video calls and podcast interviews for my freelance graphic design business.